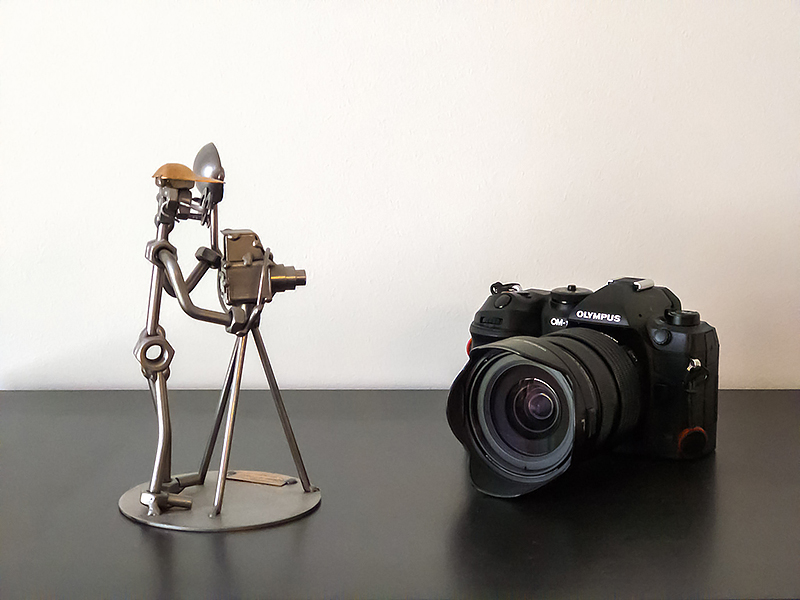
I have two OM-1 (Mark I) bodies in use and I have been really happy with the equipment. There are probably very few two thousand Euro bodies that can perform as well.
However, one thing that is puzzling is that you can’t change the shooting mode if there are still images in the buffer waiting to be written to the memory card. Or, to be precise, you can, but the new shooting mode will only be activated when the buffer is empty. For example, if I use custom mode C2 (the custom modes I used are listed below) and the buffer is almost full, I can’t change to C1 mode until the buffer has been written to the card. This encourages the use of fast cards.
Settings

1. Basic Settings/Image Quality
- Custom Mode: Hold. This is convenient because the settings you use will be saved in that C memory location.
3. ISO/Noise Reduction
- ISO-A Upper/Default: Upper limit 25600, Default 200. ISO 25600 is usable, but it requires correct exposure at the time of shooting. In SH1 and SH2 shooting modes, the maximum possible ISO is 12800.
- Auto ISO takes a surprisingly large amount of computing power from the camera’s processor, affecting things like focus speed. The less the processor has to calculate, the better.
8. Image Stabilizer
- Image Stabilizer: S-IS Auto. TThis is practically always selected, even when shooting from a tripod.

1. AF
- AF+MF: On
- Starry Sky AF Setting:
- AF Priority: Accuracy
- AF Operation: AF-ON Start/Stop
- Release Priority: Off
- AF by half-pressing: Yes
- AF-ON in MF mode: No
- Release Priority
- S-AF: Off
- C-AF/C-AF+TR: On
2. AF
- AF Area Pointer: On2
3. AF
- C-AF Sensitivity: 0
- Usually the setting is 0. If you are only shooting at approaching targets, you can try increasing the sensitivity.
- C-AF Center Priority
- On. In this case, the camera will focus on the center of the focus area when searching for a subject.
- AF Scanner: On
5. AF Target Settings & Operations
- AF Target Mode Settings
- I only use All, Single, Cross and Mid target areas, custom focus areas are no longer necessary for me.
- Orientation Linked: Not in use.
- Set Home: AF Target Point in the middle of the screen.
- Select Screen Settings: Select with dial.
- Loop Settings: Off
- AF Targeting Pad: Off
6. MF
- Reset Lens: Off.

3. Displays
- Image rotation: Off
- Info Settings: Image Only and Overall

1. Operations
- Button Settings
- Button Function
- AF-ON: Facial recognition or pattern recognition On/Off.
- Arrow pads: Off (except in C-settings)
- Button Function
- Dial Settings
- Dial Function: In M mode, I use the front wheel to adjust shutter speed, and the rear wheel to adjust aperture. In A mode, I use the front wheel to adjust aperture and in S mode to adjust shutter speed. However, I don’t use A and S modes in practice, I almost always shoot with manual settings.
- Multi Selector Settings
- Center Button: HP
- Direction Key: AF Area
- Fn Lever Settings
- Fn Lever Function: mode2.
- Fn Lever/Power Lever: Fn
3. Live View
- LV Mode: Standard
- Night Vision: Off. For example, when shooting northern lights, it is a good idea to set this to the On position.
4. Information
- EVF Style: Style 2
- Info Settings
- Image Only
- Information 2: Only histogram.
- Information 3: Only Level Gauge.
- Level Gauge: Off. Level Gauge can be displayed by pressing the info button.

1. Card/Folder/File
- Card Slot Settings
- Save Settings: Auto Switch
- Save Slot: 1
- So with these settings, card 1 is first filled and then saved to card 2. Both card slots are UHS II compatible..
3. Monitor/Sound/Connection
- Monitor Adjust: 0. For night shootings, it is a good idea to set this to -7.
- Eye Sensor Settings
- EVF Auto Switch: On.
- Behavior when switched: Maintain Screen
- When Monitor is Opened: Inoperative
5. Battery/Sleep
- Battery Priority: PBH Battery
- Backlit LCD: 1min
- Sleep: 1min
- Auto Power Off: 4h
- Quick Sleep Mode: On
Custom settings are approximately as follows, all based on the M shooting mode:
- C1 – birds and other animals
- Silent Sequential or SH2
- Fn Lever: Mode 2.
- Lever in position 1: C-AF ja targeting area.
- Lever in position 2: S-AF ja single point targeting. This way you can quickly switch to single-point focus if needed.
- AF-ON: pattern recognition on/off, front wheel pattern recognition style selection.
- Right arrow key: select shooting mode (Anti Shock Single/Silent Single/Silent Sequential/SH2).
- AEL: AF limit
- C2 – birds and other animals, Pro Capture
- Otherwise the same settings as the C1, but only Pro Capture shooting modes are used (ProCap, PoCap SH1 ja Prp Cap SH2).
- AEL: AF limit
- C3 – landscapes
- Here I have put the settings that are usually used to photograph landscapes. Fn Lever in position 2 is intended for photographing the northern lights and the night sky (Starry Sky AF), focusing is started with the AF ON button.
- C4 – people and portraits
- AF ON: face recognition on/off
- L-Fn: face selection
- Fn Lever:
- Lever in postion 1: C-AF + MF
- Lever in position 2: S-AF + MF
